Sound Test
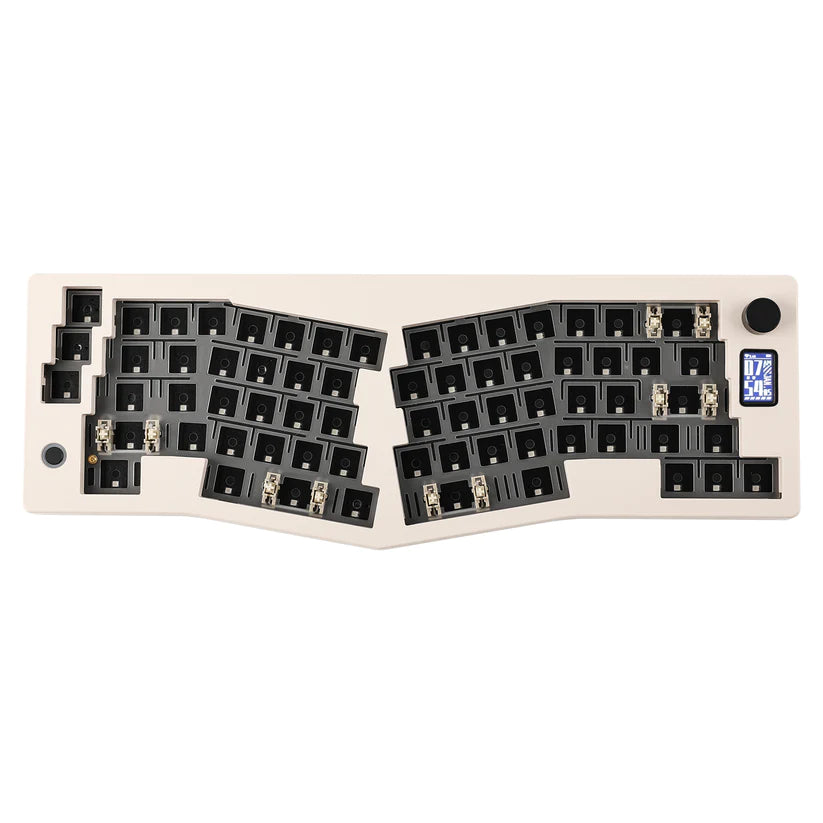
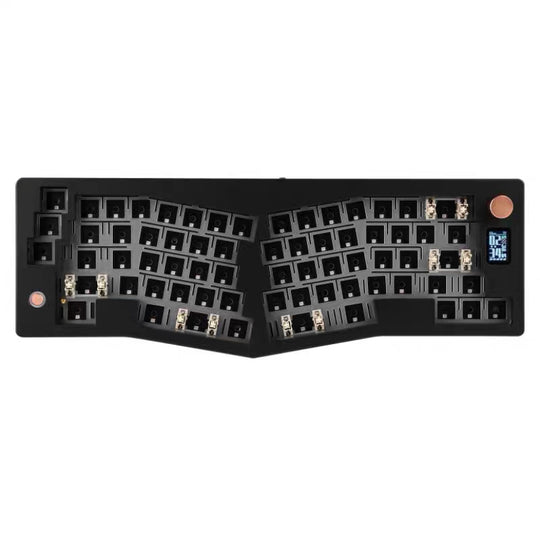
VIA-programmable Hot Swappable Wired/Wireless Mechanical Keyboard
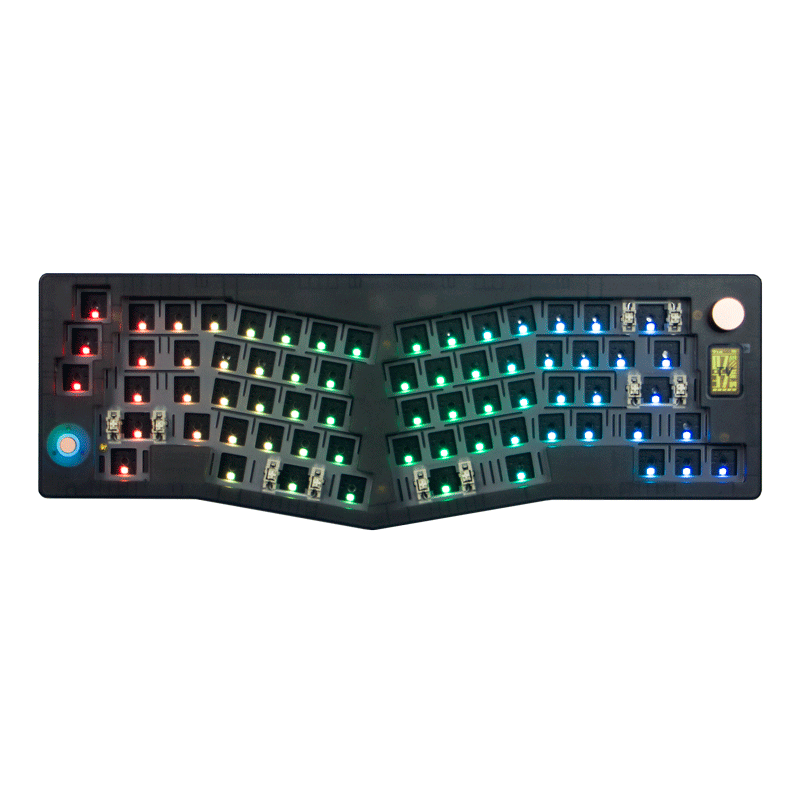
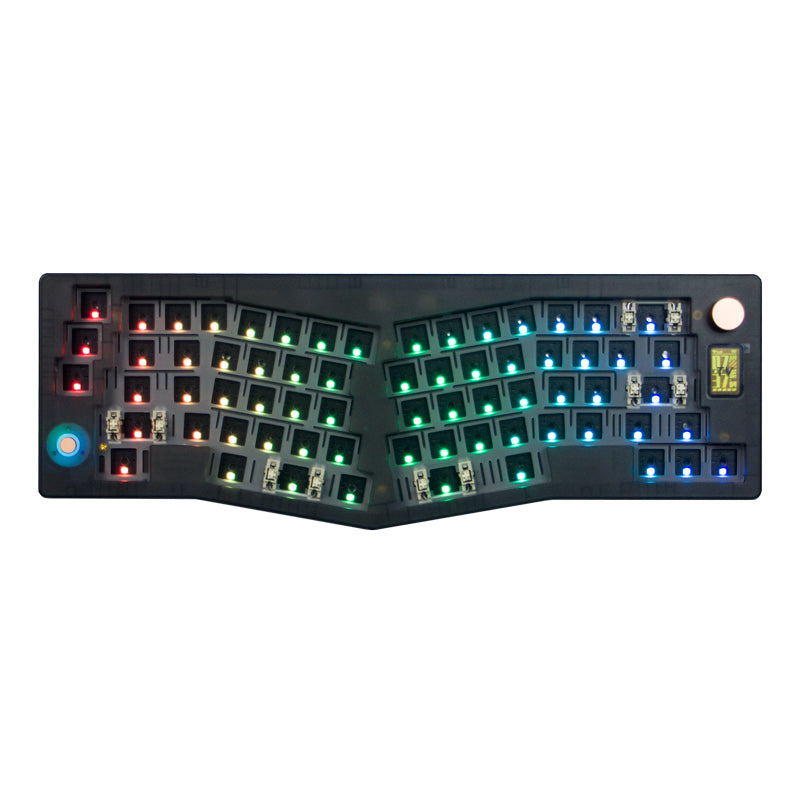
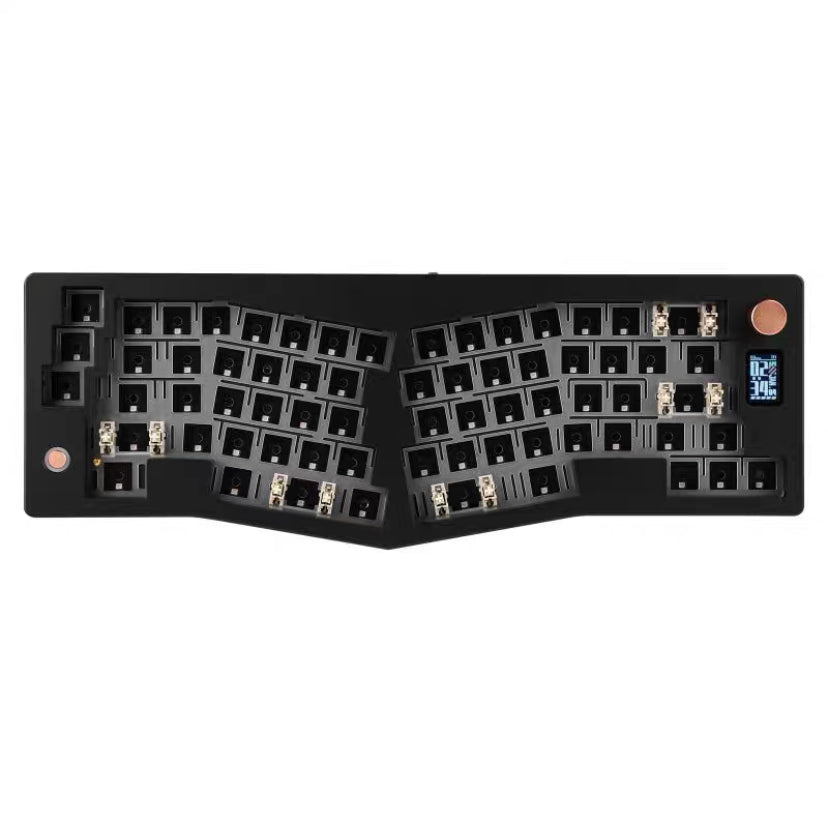
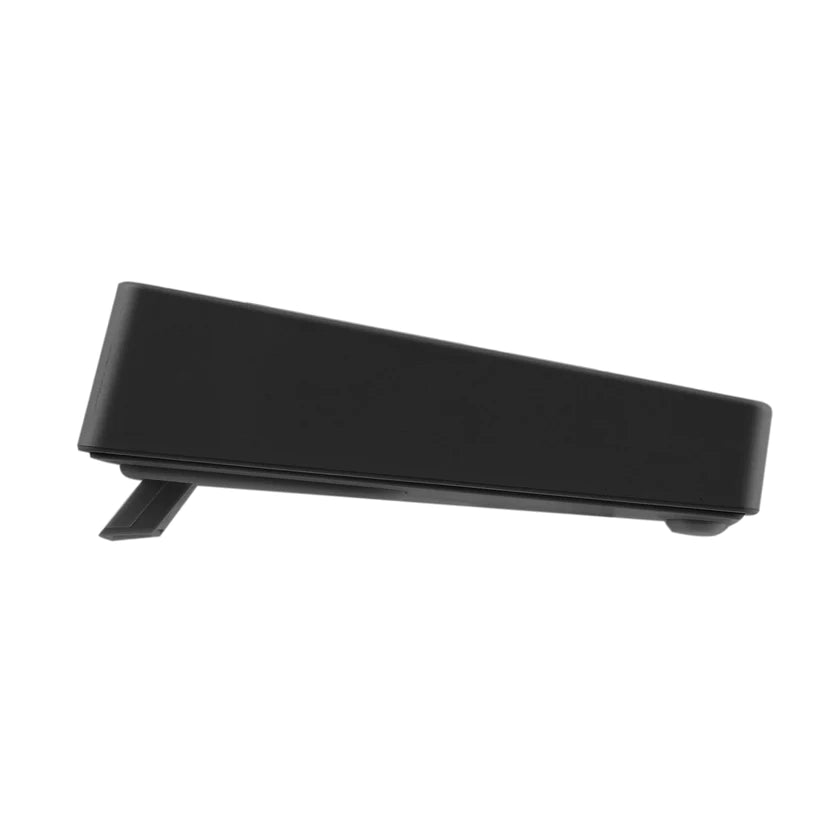
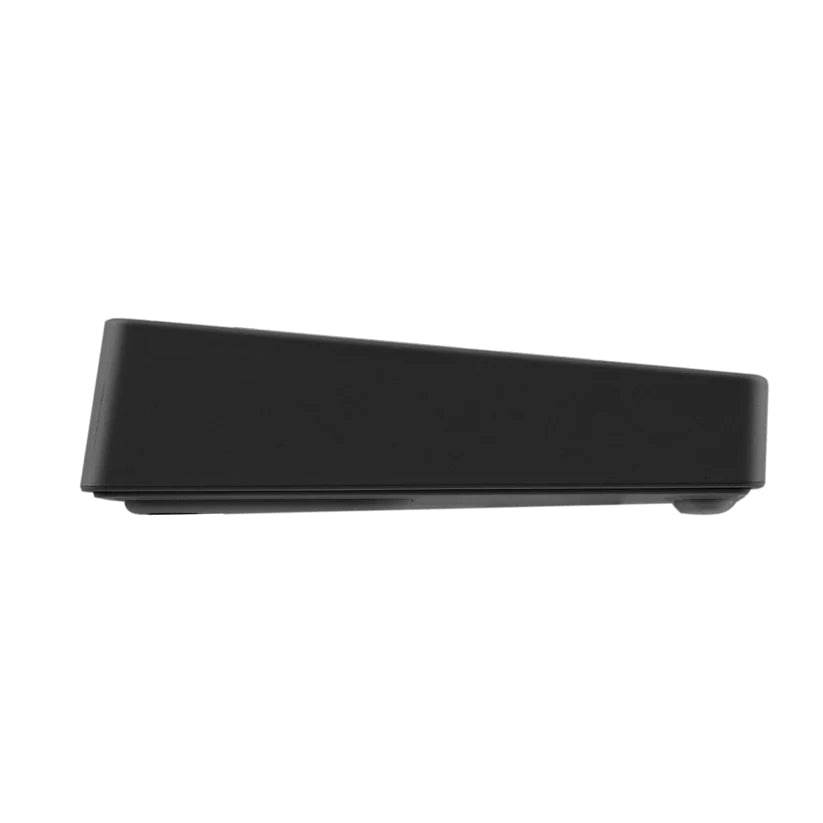
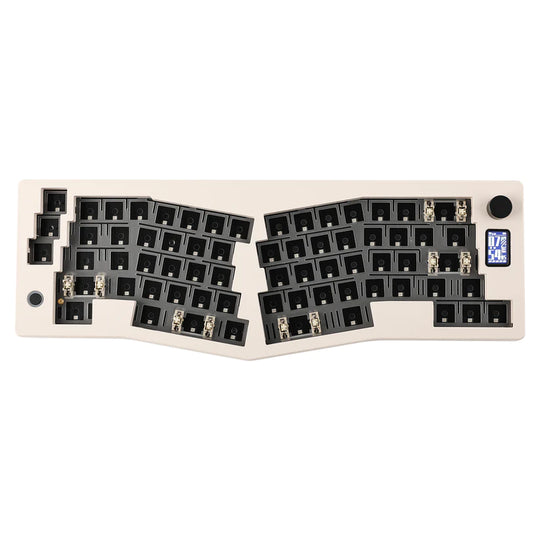
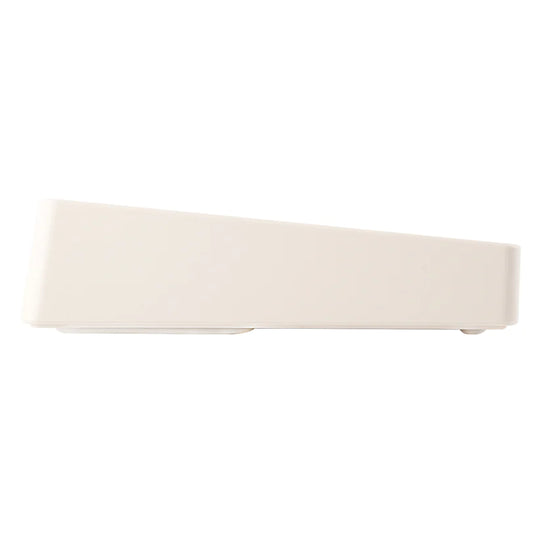
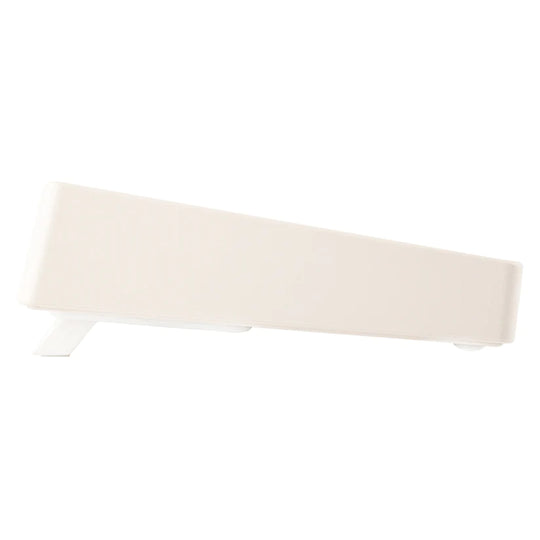
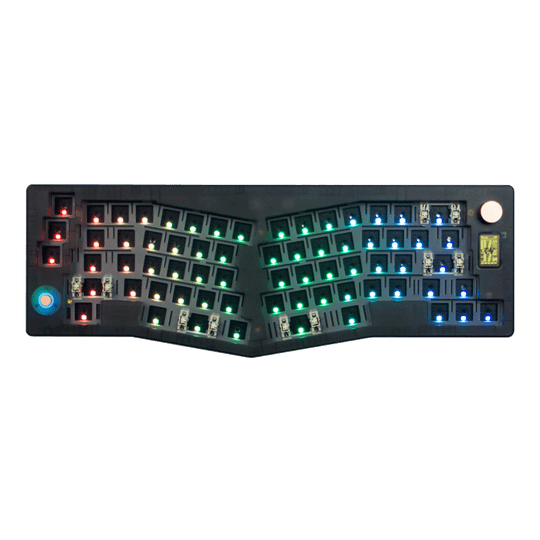
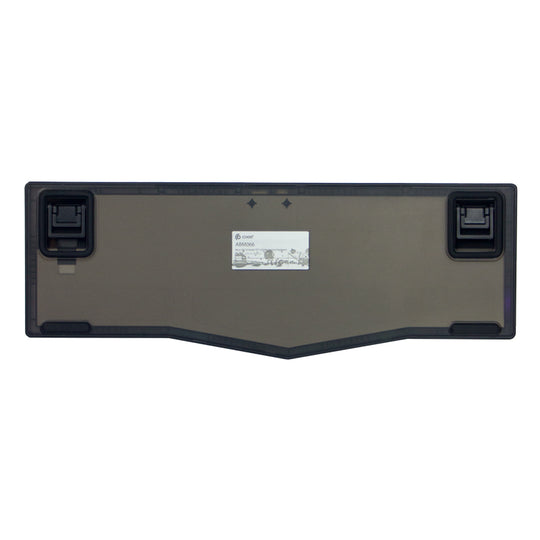
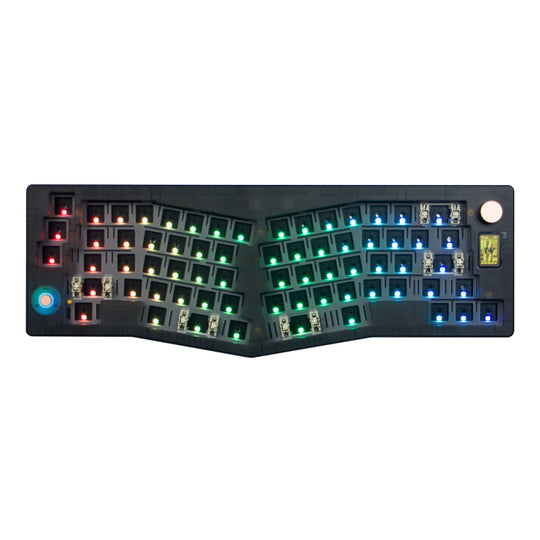
- Alice-layout for ergonomic comfort
- VIA-programmable & TFT-LCD screen for unparalleled customization
- Hot-swappable custom silent switches
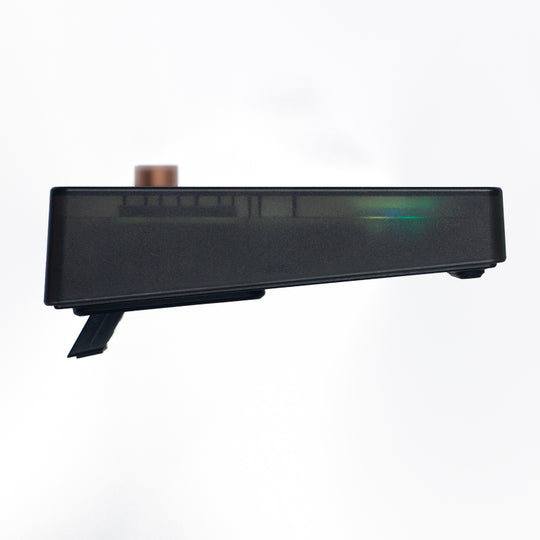
- Rotary knob for easy control
- Multiple connectivity options: Bluetooth, 2.4Ghz, and Type-C
Alice Layout
VIA Supported
Tri-Mode Connection
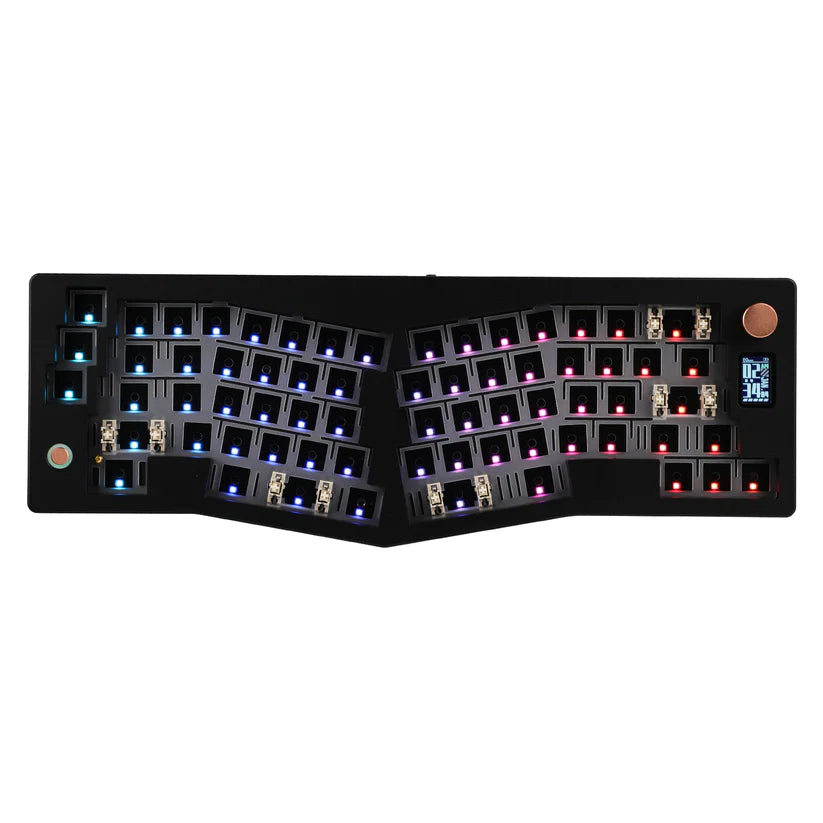
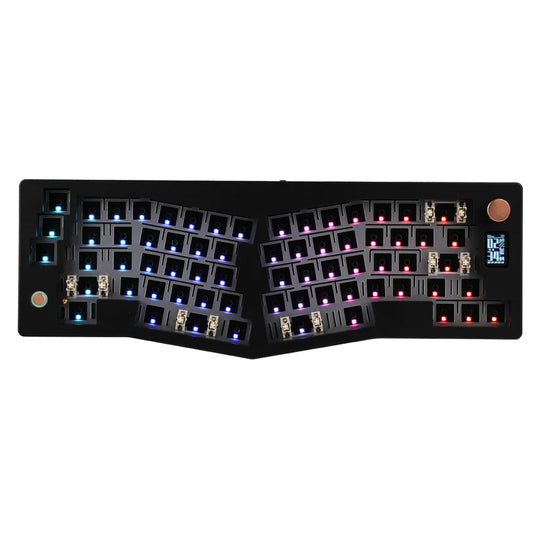
South Facing Led
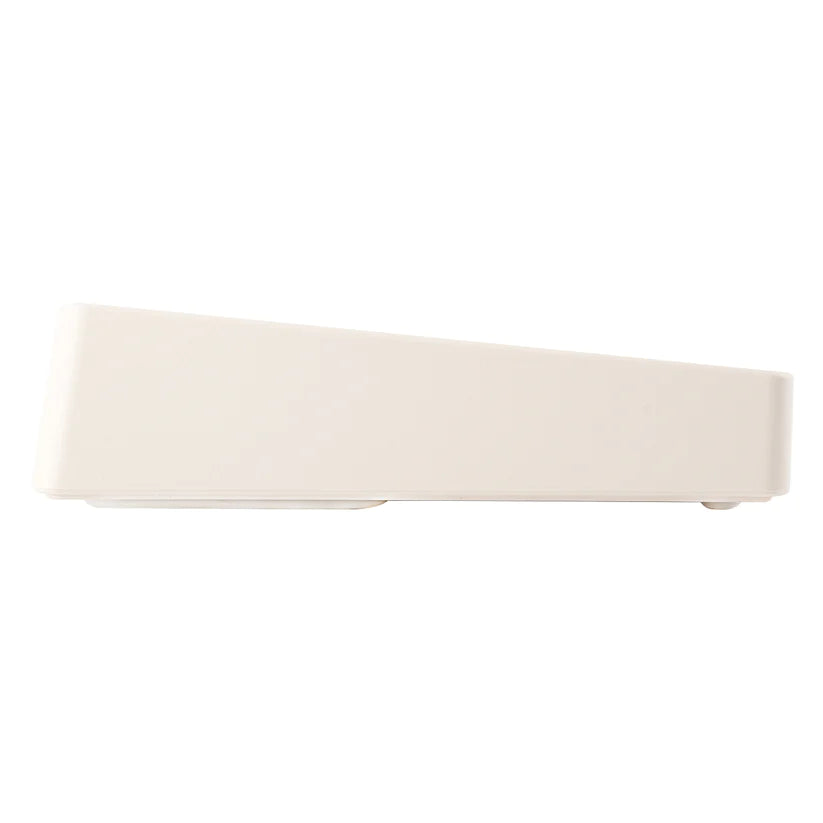
Gasket Mounted
Flex-cut PCB
SPEC
| LAYOUT | Alice Layout |
| Connectivity | Type-C Wired, Bluetooth 5.0 & 2.4GHz |
| Structure | Gasket Mount |
| Gasket Material | Poron foams |
| Hot-Swappable | Support |
| PCB Thickness | 1.2mm |
| Plate Material | PC |
| Battery Capacity | 3000mAh |
| Anti-Ghost Key | NKRO in all modes |
| LED Direction | South-facing |
| Cable Length | 1.5m |
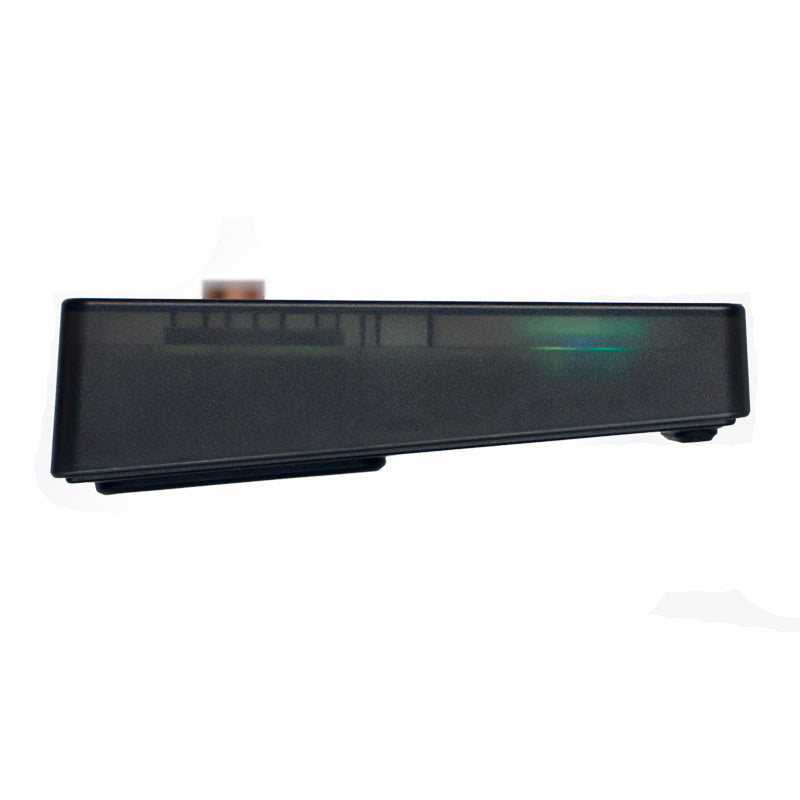
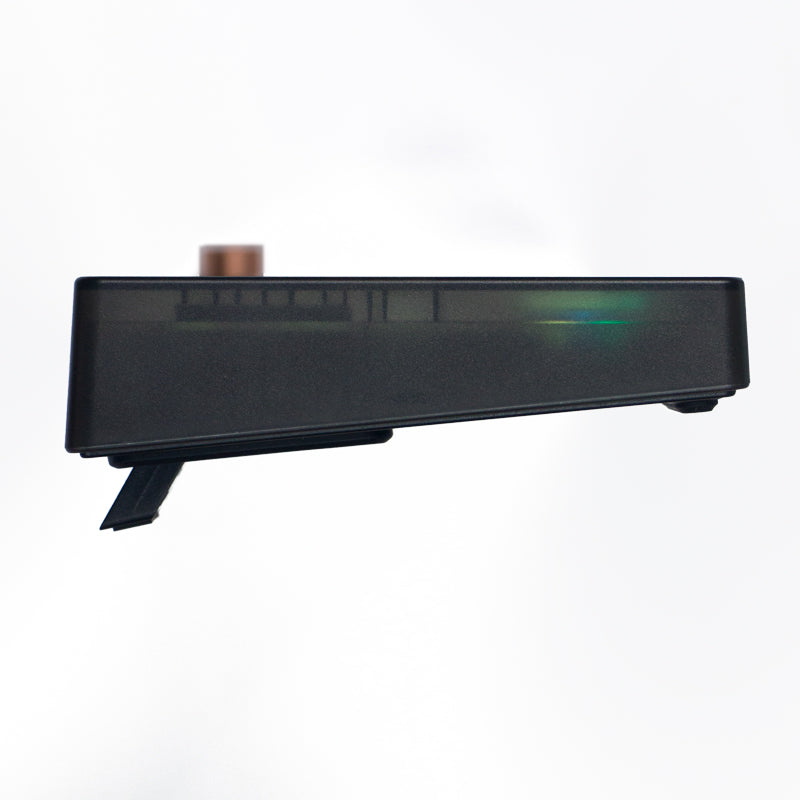
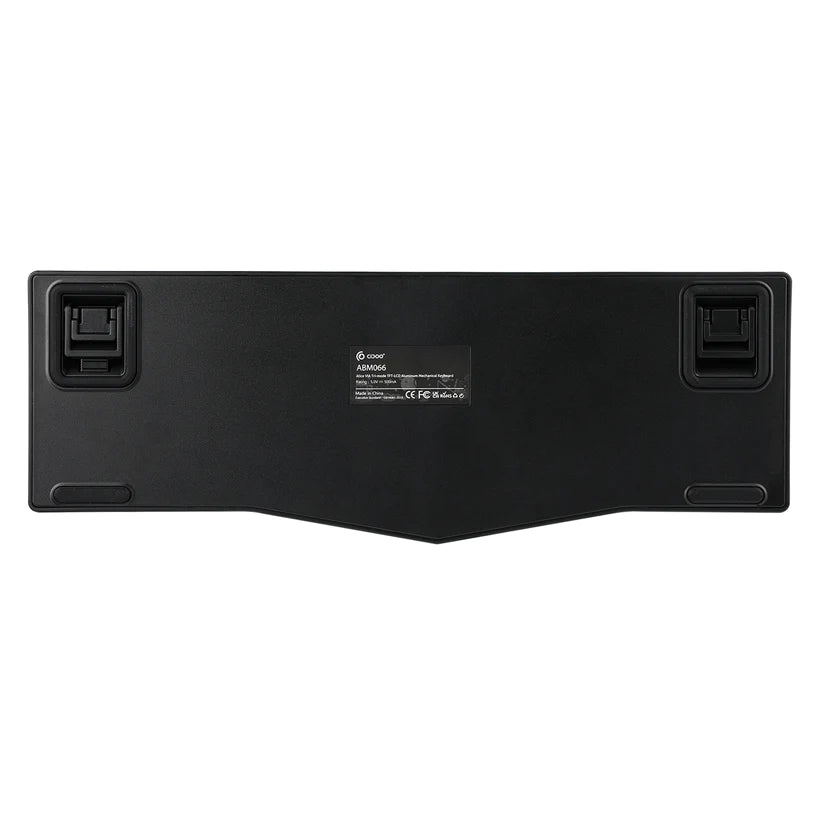
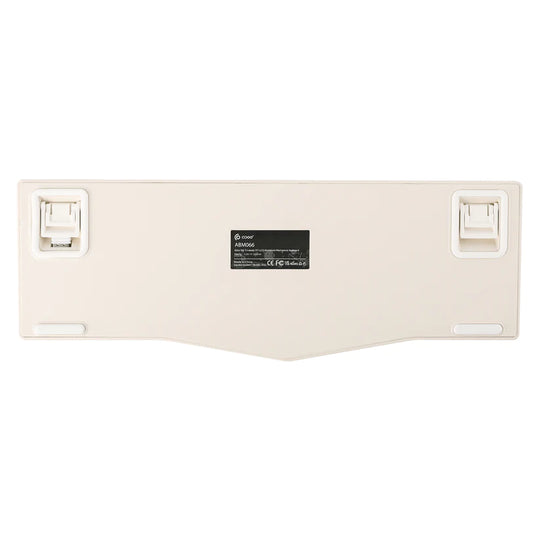
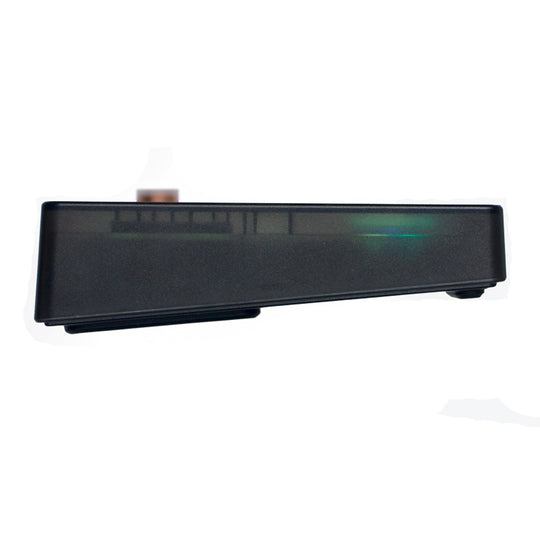
| Dimension | 371 x 121 x 40 mm |
| Weight | 0.55kg (Barebone), 0.8kg(after assemble) |
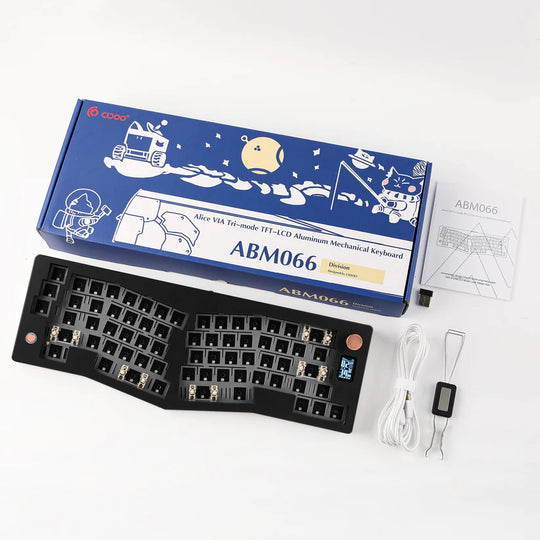
What's in box
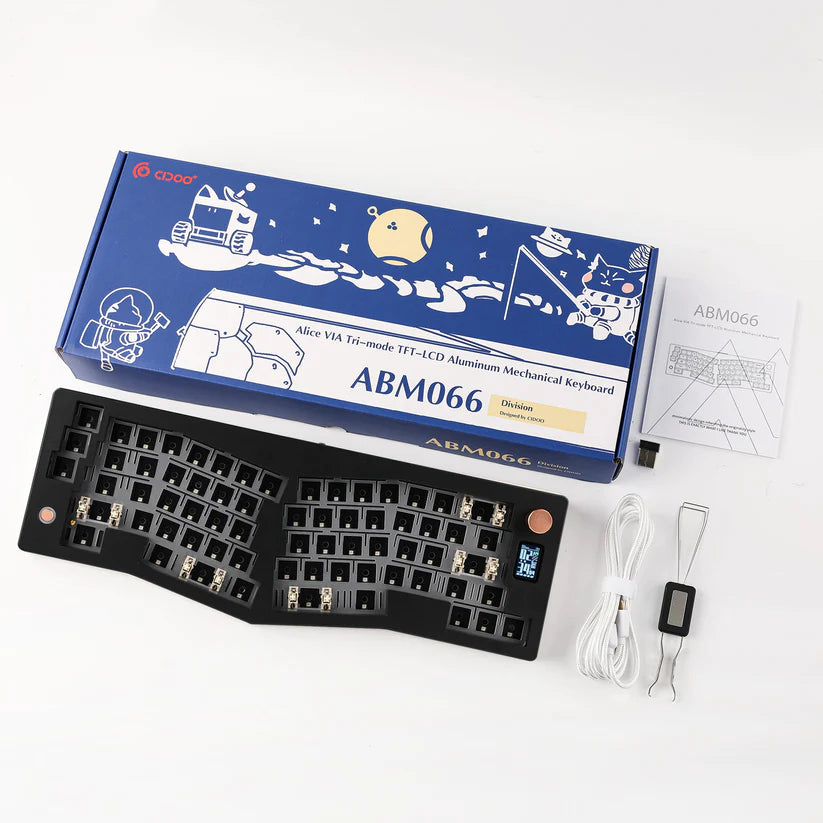
| ABM066 Keyboard Kit | x 1 |
| USB Cable | x 1 |
| 2.4G Receiver | x 1 |
| Instructional Manual | x 1 |
FAQs
We have a 7-day return policy, which means you have 7 days to notify that you would like a refund, and 14 days to send us back your items. However, we do not accept returns on any custom design orders created through the 'Atisan Keycaps Customshop' or 'Design Your Own Keycaps' section of our website along with any product that has been customized or personalized to your specific requirements. To be eligible for a return, your item must be in the same condition that you received it, unused and in its original packaging. You’ll also need the receipt or proof of purchase. Clearanced items are not eligible for returns. All sales final.
Usually it takes us 2 working days to prepare your order. (custom item such as custom artisan keycaps will take longer time) .
For most of the countries it will take 7-12 days for the order to be delivered. If you choose expedited shipping it will cost you another 10-20$ and it will take 3-5 days for UPS/DHL to deliver to you.


